Pinterest

Showing posts with label Tim Holtz. Show all posts

Tuesday, 27 June 2023

A few projects

                                                                    Hello Friends


I have been very remiss over the last couple of years and neglected my blog, mainly because I thought Blogger was not publishing content anymore, so this is really just a test run, to share a few projects I have made!  Fingers crossed it will post!

It has been a bit of a difficult time here, with breast cancer, surgery, chemotherapy and radiotherapy but I think I am back to my old self, more or less, albeit without any mojo at all.  I hope it comes back soon because I miss it!  Mind you, it has not stopped my from buying crafty goodies the whole time!  I now have a large stash which is mostly unused.... my bad.

My most recent make is a tag I created in April using Tim Holtz's new Inspector stamp set (CMS465) by Stampers Anonymous.  I just love this guy.  I used lots of Tim's products to create him including the new Etcetera Facade frames on top of an Etcetera tag.  The little lantern on the bottom right hand side lights up too!

 Around Easter I created a project using one of Tim Holtz's Reliquary Domes, the new Salvaged Rabbit and some older Idea-ology products.  This was such fun to make.

My dear friend Jo Rice bought me a kit whilst I was ill, in the hope that it would aid my recovery. It did and I really enjoyed adding lots of bits and pieces to it from my stash.

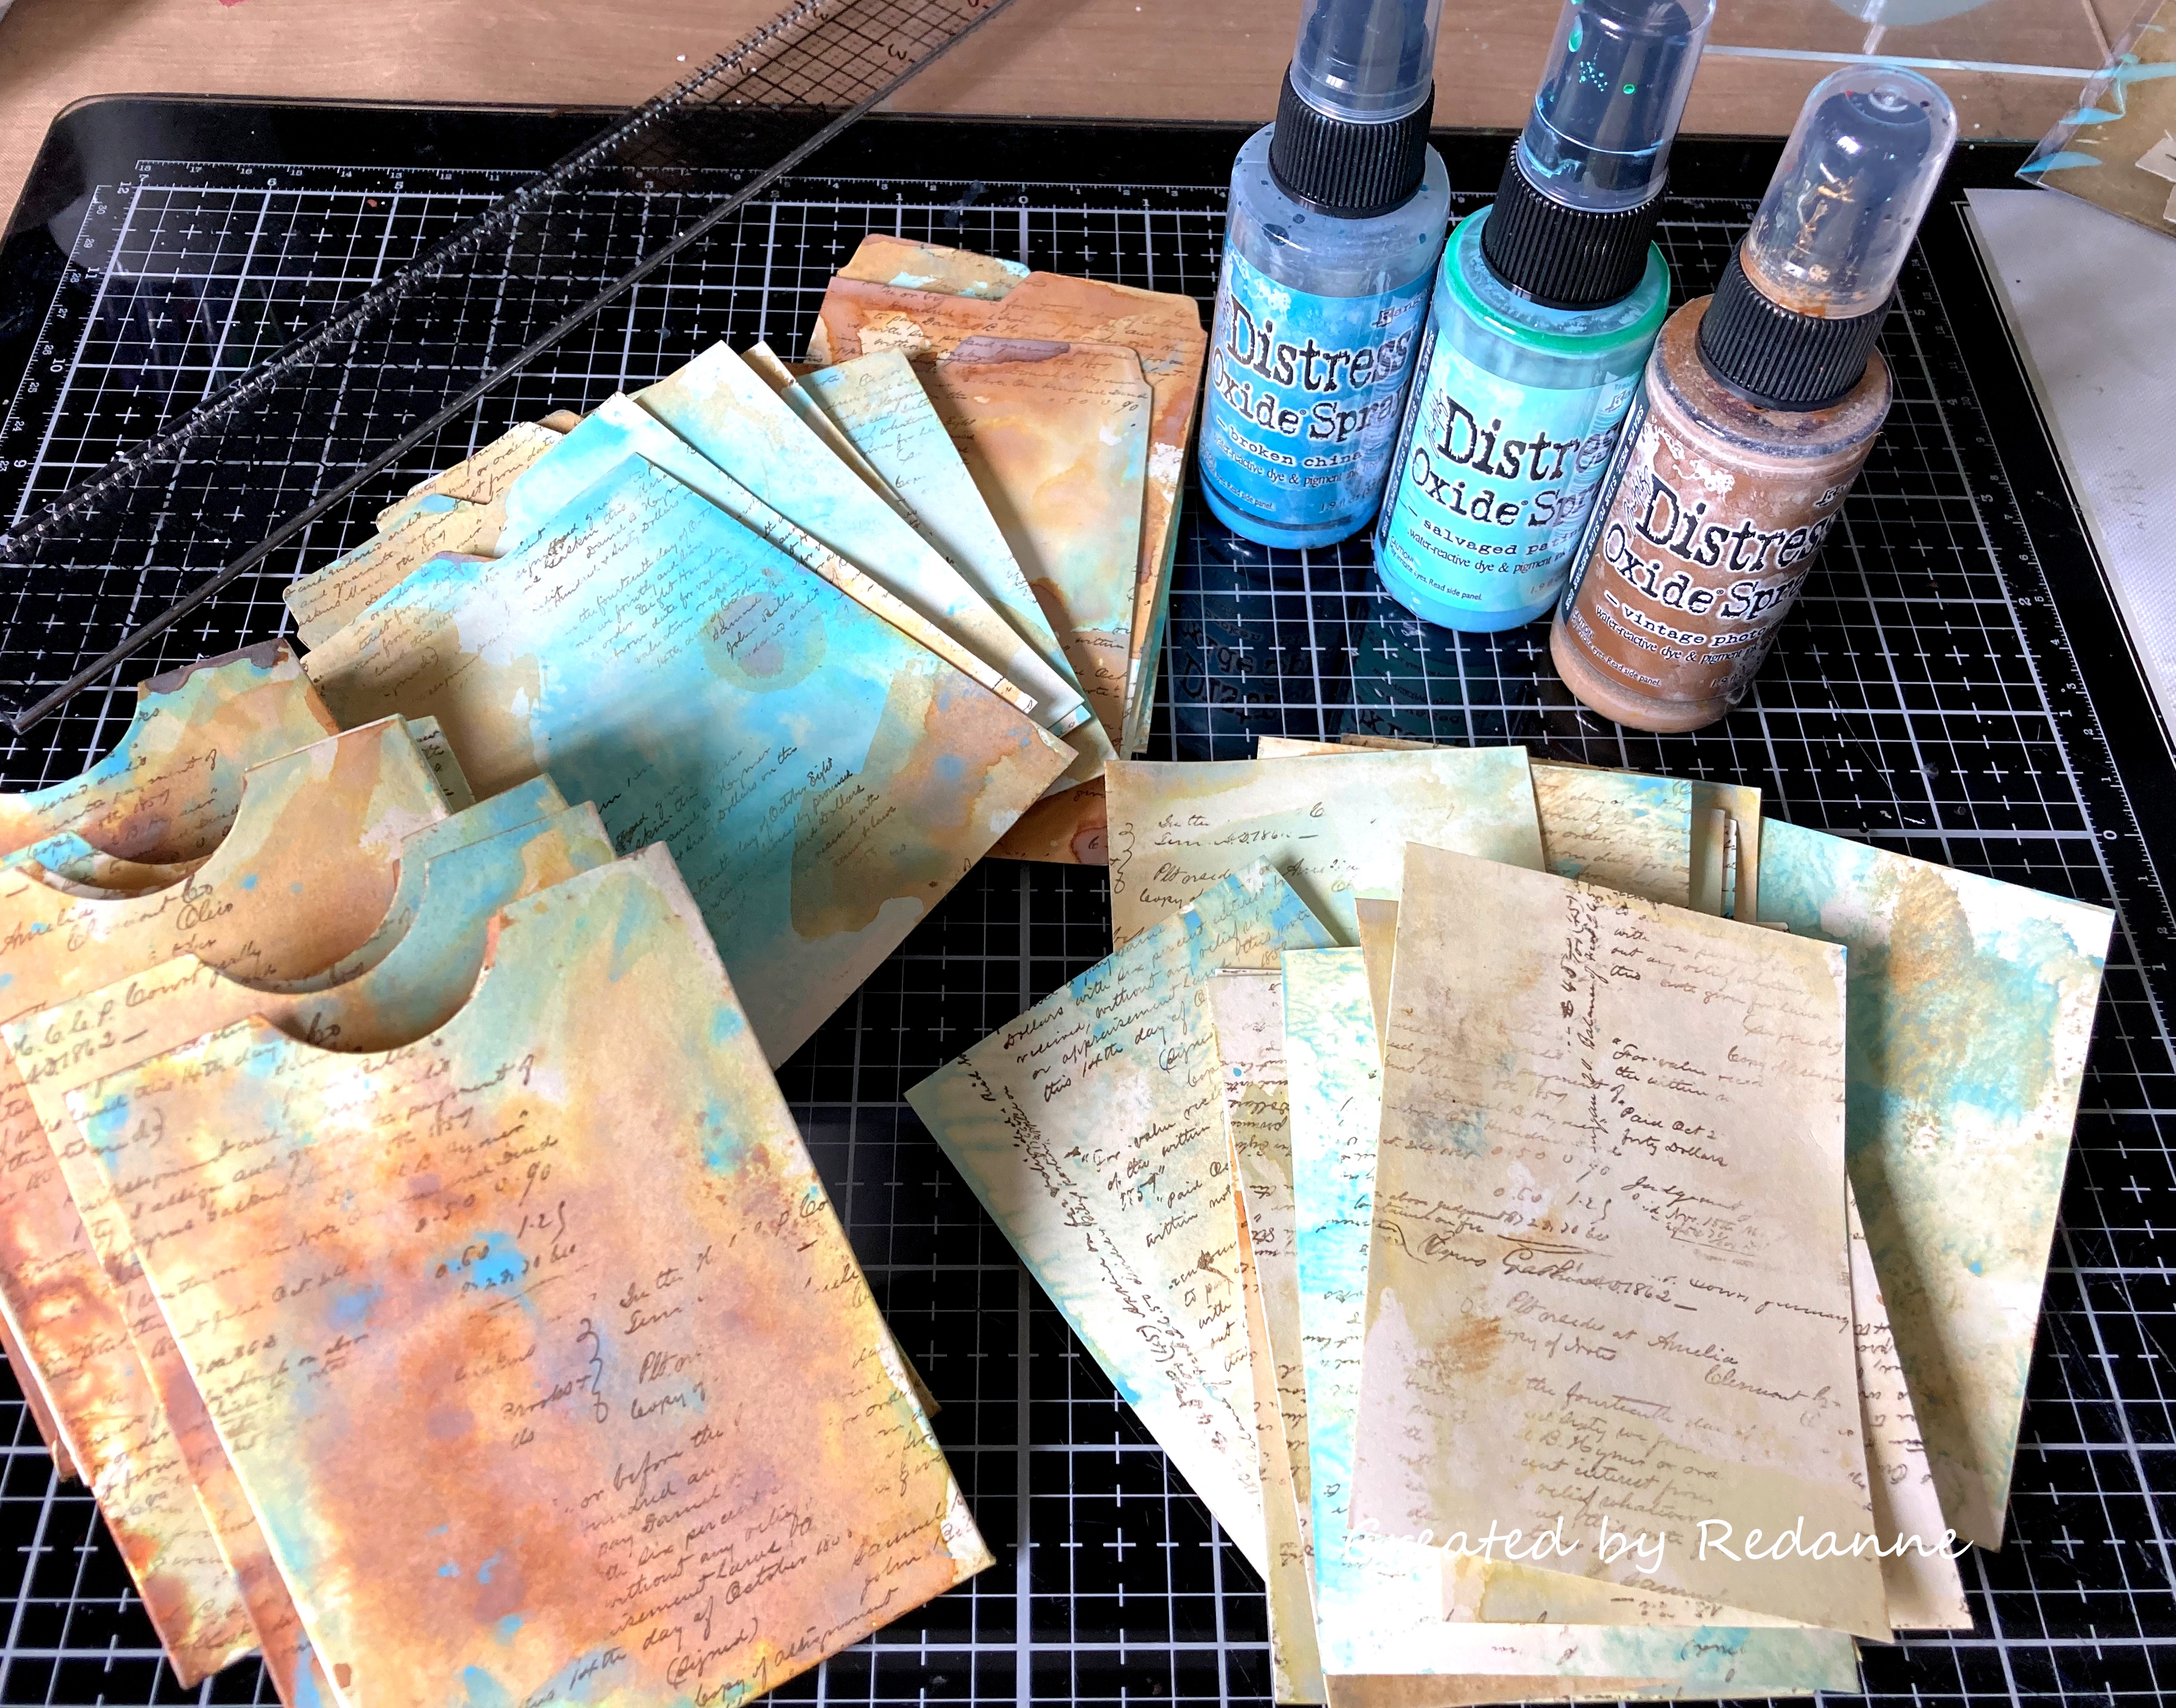
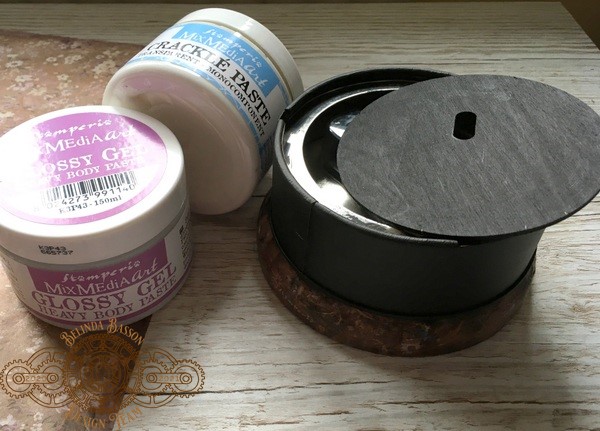
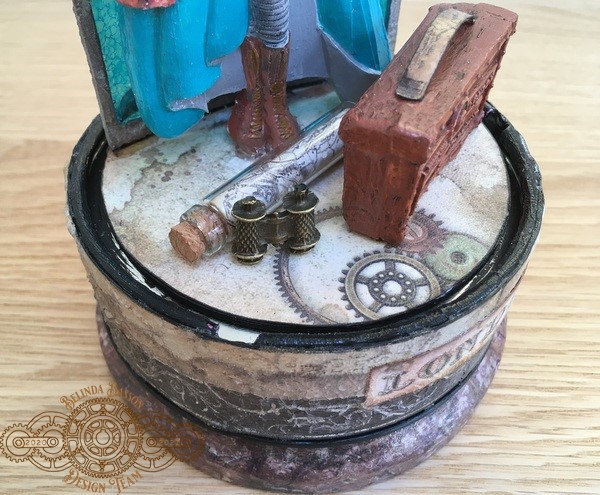
I did do some crafting prior to this, working for the lovely Sarah Gray of Funky Fossil who kindly invited me to be a guest designer for her.  It was so lovely to make things for Sarah, just a few of which are shown below.  The stamps and stencils used were designed by my dear friend Belinda Basson.


I think that is more than enough for now, I hope you are all well and that I see you again soon.


                                                                    Crafty hugs,  

                                                                     Anne  xxxx

Sunday, 1 May 2022

Idea-ology Vignette Card File

 Hello Friends

Since Tim Holtz released his new Idea-ology range this year I have been dying to make something with the Vignette Card File.  After seeing Jan Hobbin's creation for Tim's reveal video where she created a file box to hold special dates throughout the year, I decided to create something similar.

I have been collecting addresses of blog friends for the past 10 years, keeping them in a small notebook, this has become a bit dog eared over the years and so I decided to make a card address file....

I started by covering the box with Backdrops Volume 3 papers before adding design tape to the edges.  
To finish off the box I applied Tim's Translucent Crackle Paint randomly around the box and when dry I spritzed over it with Distress Oxide Spray in Salvaged Patina and gently wiping some off here and there to give a distressed look.

The hardware was painted with Distress Foundry Wax in 'Mined' before attaching to the box.  I love how easy it is to use Foundry Wax and the finish is beautiful.
I took nine sets of the new Idea-ology File Cards and coloured them with Distress Oxide Distress Sprays and added a little stamping here and there for added texture.
Each pocket card will hold three letters of the alphabet.  I used Idea-ology Stencil cards to label the folders.  Each pocket contains one folded card and one tabbed card, so plenty of room for names and addresses.
I used a whole mix of Idea-ology Ephemera to collage on top of each pocket.
I also added some of Tim's Eclectic Elements fabric on the front of each pocket along with some stencilled lettering.
To finish off I added the word 'friends' from Idea-ology Big Chat collection of words.

All I need to do now is transfer the names and addresses!

Thanks so much for your visit.  I apologise for not being around much these days, either here or on social media, but I have a few health issues I am working through and Facebook is playing silly beggars with my feed at the moment.....

Take care and keep safe and well.

Crafty Hugs,  Anne xxx


Monday, 29 November 2021

Tim Holtz Christmas Village Green

 Hello Friends

Since watching Tim's Saturday video on 'The Village' I have wanted to make a village of my own.  I was totally inspired by the creation that the very talented Emma Williams, one of Tim's Makers had made.  You can see Emma's beautiful and very detailed village here.


I built the village over a couple of weeks so I don't have step by steps but I have a few photos to share.  The first house uses House 1 from the new Village Collection and the brickwork was created using the Mini Brickwork 3D embossing folder.

The trees are from Tim's Idea-ology Woodland lot and I sprayed them green using Distress Spray Stain in Rustic Wilderness and the edges were covered with Picket Fence Distress Paint.  I added Tiny Christmas Lights to the tree and all of the houses.
The wreaths on the houses, the gentleman and the Carol singers were created by using Tim's Vault Series: Christmas 2021 die set with black shrink plastic.  I was quite pleased with the way they turned out!  The bows on the front of the village are from the same die set too.  

The central tree has Idea-ology pearl baubles (coloured with alcohol ink) and stars but no lights and you will see why at the end of this post!

I used House 2 to create a pair of semi detached houses, I simply joined two of the houses together and added a 'drain pipe' to separate the two houses.  All of the roofs were die cut and coloured with Distress Ink in two colours, Vintage Photo and Gathered Twigs.
The Post Office was created from House 1 dies and I added the cute little awnings.  The phone box was created using the tall thin building from Tim's Paper Village die set and it even has a little telephone inside!  The post box was created with a wooden button and card - well I needed a post box to go alongside the Post Office. It was the hardest thing to create because it is so tiny....
The pathway at the front of the properties was created with Tim's Mini Cobblestone 3D embossing folder.  The 'snow' was created with Ranger Distress Grit Paste with Distress Grit Paste - Snowfall to add some extra whiteness. I carefully puffed on Distress Clear Rock Candy Glitter to add a little sparkle.

To finish off my project I added some Idea-ology feet (from years ago) and a metal plaque from Tim's new Christmas range, that says 'Season of Magic'.
And finally, I took a little video so that you can see that I added a music box (playing Jingle Bells) and turntable to bring the Village Green Christmas tree to life.  I hope it works and that you like it!

I absolutely love this new size of Village dies and I can see me using them lots more in the future.

Thanks so much for your visit, I really appreciate you stopping by.

Take care and keep safe and well.

Crafty hugs,  Anne xxx


Monday, 11 October 2021

Tim Holtz Village Collection 2021

 Hello Friends

Well, what can I say, it is October (to me that signals Halloween) and Tim Holtz has released a fabulous new die set, called Village Collection along with some new mini embossing folders.  I do have the original Village collection but I like the size of this new one... so I just had to didn't I; especially after seeing all the wonderful inspiration from Tim's amazing Makers.  If you missed the 'live' you can see it HERE.

I have to thank Art From The Heart for their always fantastic service, my dies and folders arrived last Friday and I just had to get started right away.  I don't have a step by step for you because this project just took on a life of its own as I was building it...

I built the Manor House first and then added House #2 and (just out of view) I added the additional side building.  

I had some of Tim's Halloween papers from a few years back and had just enough of the orange and black to complete the buildings.  The windows each have 'glazing' from some cobweb acetate from the same paper pack.  Just like the original set of dies, the houses go together like a dream!

The base is a wooden box 10.1/4" x 6" and I covered it with some of Tim's design tape (Halloween) from a few years back.

The trickiest part of the piece was the brick wall.  I knew I wanted to use the gate from Tim's Village Graveyard die set to create an entry.  

The new embossing folders are approximately 4.1/2" x 3" and I repeat embossed some cardstock to give me some longer strips to create parts of the wall.  I used Hickory Smoke Distress Paint, watered down, and randomly swiped paint over the embossed brickwork to give a distressed look.

I scored each long strip to create the wall (3 bricks deep for the sides, two bricks deep for the top and three bricks for the back).  I mitred the corners to give nice corner edges. I cut strips of card to join onto the base.  Because the top was a little uneven I put a strip of card along the whole top to give a finished appearance.  I also created some 'pillars' to hold the gate in place.

I created the cobbled paths in the same way as the brickwork fence and fussy cut around some of the cobbles to make them look realistic.

The graveyard was added by die cutting the tombstones from black card, again using the Village Graveyard die set.  I put four layers together to give them strength and dry brushed them with Hickory Smoke Distress Paint.

All that remained was to paint the 'ground' with various colours of green paint and once the Manor was in place I added some moss, a few (model railway) trees and twigs together with a small pumpkin charm from my stash.
Some of you may be wondering at this point, whether I added lights to my creation.... well, of course I did, it is for Halloween!  I added a set of Tim's Halloween mini lights in green.  It has quite the eerie glow at night time!

Not the best of photos but I have photographed the original Manor house I built a few years back alongside the new one, just to give you an impression of the difference in size of the Manor house.

To finish off my new Manor house diorama I added a word chip. The light switch for the tiny lights is hidden underneath.

Thanks so much for your visit, it is much appreciated!

Take care, keep safe and well.

Crafty hugs, Anne xxx


Monday, 9 August 2021

Simon Says Stamp Designer Spotlight - Week 2

Hello Friends

It is time for my second Designer Spotlight project for Simon Says Stamp Monday Challenge.  I really enjoyed creating this project!
 
 The challenge this week is 'Heat Embossing'. 


I created a large tag with lots of heat embossed elements.

I used Tim Holtz Distress Oxide in Prize Ribbon, smooshed onto my craft mat and then transferred this onto Distress Watercolour Cardstock and left this to dry naturally.   Next I took Tim's beautiful Faded Type stamp set, and stamped in Distress Ink in Prize Ribbon before adding Distress Embossing Glaze, also in Prize Ribbon and then heat embossed it.  You can't really see it in the photo but it has a delicate embossed sheen to it.

The tag reinforcer was coloured with Distress Ink in Prize Ribbon.
The bulls eye from the Inquisitive stamp set was stamped with Crackling Campfire Distress Oxide Ink and then coated with Distress Embossing Glaze in Crackling Campfire before heat embossing it.  I created three, cut them out and mounted all three onto the tag, lifting the centre one up with sticky pads to give some dimension.

The man was stamped and embossed with Ranger Embossing Powder in black.  He was coloured with watercolour pencils, fussy cut and then mounted onto the centre bulls eye.
At the bottom of the tag I stamped the Faded Type in the same way as the top of the tag.  I added a Quote Chip along with an Idea-ology arrow adornment, which I coated with Distress Embossing Glaze in Crackling Campfire.  You can see the sheen of the embossed elements below.
To finish off the tag I edged it with Prize Ribbon Distress Oxide.
We hope you will join in the challenge this week, there is a £25 Gift Voucher on offer for one lucky winner!


I am totally in love with the Prize Ribbon colour, it is such a beautiful, deep and rich blue and the Inquisitive stamp set is a definite favourite, I can see me using this combination for lots of birthday cards.  A list of the products I used can be found at the foot of this post.


As always, thanks so much for taking the time to visit, I truly appreciate it.

Crafty Hugs, Anne xxx


Products Used:


Monday, 2 August 2021

Simon Says Stamp Designer Spotlight - Week 1

 Hello Friends

I am really thrilled and delighted to have been asked to be in the Designer Spotlight at Simon Says Stamp Challenge Blog for the month of August again this year!

This week the theme is Birthday Celebrations!  It is a very special one, Simon Says Stamp Challenge Blog is 11 years old!  Happy Birthday!  The design team is also featuring AALL & Create Products this week.

I used two sets of AALL & Create stamps and one AALL & Create stencil along with lots of Tim Holtz goodies to create a seaside themed project. 

I started by painting a Tim Holtz Etcetera Tag (Mini) and a Tim Holtz Baseboard Frame with Peacock Feathers and Twisted Citron Distress Paint before stencilling with Texture Paste through the AALL & Create Superbly Square stencil.


I then applied Clear Rock Candy Distress Paint over the tag and the frame.  This muted the colour of the Texture Paste but I was happy with the result.

Next I stamped the sentiment from the AALL & Create Background Voices stamp set onto white card.  I also stamped the lighthouse and flower from the AALL & Create Sea Essentials stamp set and coloured the images with Distress Ink.  Once dried I cut out the images and gave them a coat of Glossy Accents.

I changed my mind and didn't use all of the items shown in the photo above.

I attached the stamped images, along with the frame to the tag and then added a Tim Holtz Idea-ology Compass Coin to add some balance.

Finally I added some string from my stash to the bottom of the tag (as well as to the wooden ring at the top of the tag) before filling a Tim Holtz Tiny Vial with sand and attaching this to the string.

To celebrate the special birthday, if you enter the challenge you will have the opportunity to win a $50 voucher to spend!  How fabulous is that!

All of the products I used are listed at the end of this post.


We hope you will join in the Birthday celebrations at Simon Says Stamp Monday Challenge this week.  Thanks so much for your visit, I really appreciate it.

Crafty Hugs,  Anne xxx


Simon Says Stamp Products Used:


Tuesday, 16 February 2021

Belinda Basson DT - Stamperia - Music Box

Hello Friends

Welcome to my blog.  Today I am sharing my second Stamperia blog post as part of Belinda Basson's Design Team.  If you are a follower of Stamperia on social media you will have seen some of the absolutely incredible projects that my team mates have been sharing there.

For my project this month I created a rotating music box.


The glare from the dome makes it difficult to see properly so here is a view without the dome:

And so you can see the movement, I did a little video...  I had all kinds of problems trying to load it up so I hope it works!
 

https://www.youtube.com/watch?v=92gthkZtRZU

To start, I created Lady Vagabond and the suitcase from quick setting resin, using Belinda's Stamperia Mould and then painted her using Stamperia Allegro paints. 
Since Lady V was going to rotate on the music box, I decided she needed to be 3 dimensional, so I applied some Stamperia Extra Light soft clay to the back of the moulded Lady V and painted it.  It did not need to be a 'perfect' back as she was going to stand in front of a stained glass window.  Once the paint was dry I applied a thin coat of Stamperia Fluid Gloss Medium to give a slight sheen to Lady V and her suitcase. 
I turned my attention to the rotating base part (a purchased deconstructed mechanism that has been in my stash for a while).  I used some of Belinda's Stamperia Rice Paper (White Flowers) and used Glossy Gel to adhere it to the bottom twist part of the mechanism.
Next, I applied some of the Lady V design paper to the upper part of the mechanism and gave it two coats of Stamperia Transparent Crackle Paste, it dries clear and gives THE most wonderful crackles.  I added some design paper to the rotating base part along with a 'message in a bottle' and a binocular charm.  I added a small handle to the suitcase.  The suitcase is part of Lady Vagabond mould, I created it with Stamperia Extra Light Soft Clay and just cut it away from the larger luggage piece, sandwiching two pieces back to back to give it a 3D appearance.
I created a 'stained glass window' using two Tim Holtz die cuts (a  gift from my dear friend Kath) with some alcohol inked acetate sandwiched in the middle.  The window fitted perfectly on the base and looks gorgeous when the sun shines.

Of course I had to add Belinda's famous cat (the Supervisor) from Belinda's die cut chipboard range to complete the base of the music box.  I added labels to each side of the music box, the London word is cut from design paper and the other is a chipboard piece which says 'there is in all artists a little of the vagabond'.
A final view :


I had great fun and absolutely loved making this project and play it at least once a day - I think David is resigned to hearing it now - lol !
 
I added a list below of the Stamperia products I used, they are widely available around the world.  I have added some UK links to shops that sell a variety of Stamperia products.

Thanks so much for your visit, I really appreciate it.

Keep safe and well.

Hugs, Anne xxx


Stamperia Products Used:

Stamperia Lady Vagabond 8 x 8 paper pad
Stamperia Lady Vagabond Rice Paper - White Flowers (A3)
Stamperia Allegro Paint (various colours)
Lady Vagabond Mould - K3PTA487
Lady Vagabond chipboard die cuts
Stamperia Extra Light Soft Clay
Stamperia Transparent Crackle Paste (K3P37)
Stamperia Fluid Gloss

UK Stockists of Stamperia Products:

Monday, 16 November 2020

Christmas Tin - Tim Holtz

 Hello Friends

I thought I would share a very quick post showing a Christmas tin I created after watching one of Tim's Saturday Facebook Lives (HERE), where he used the new Paper Village Thinlits die set.

I don't have many step by steps because I was just winging it as I went along!  I started with one of Tim's Ideaology tins.  I cut two of the village houses and fitted one of them on top of the other to represent a church.  I dyed three of Tim's Ideaology woodland trees with Distress Spray Stain, added some glitter and small beads to the larger tree.  The tiny trees have simply been brushed with gesso.

The outside of the tin was gessoed on the front and then covered with Ideaology tissue wrap.  I applied some die cut holly, some dyed Ideaology baubles for berries and added some of Tim's new Ideaology velvet ribbon to finish off.  I added a pocket to the back of the tin, finished it with Tim's Design Tape.  The pocket houses the Ideaology tiny lights battery pack.
I added some watercolour card to the inside of the tin, coloured with Distress Ink adding some white embossing powder and splats of white paint to give the impression of snow, along with a stamped sentiment.  The 'snow' at the bottom is texture paste and whilst wet I added some Distress clear rock candy dry glitter to give a light sparkle.  I punctured a small hole in the back of the tin and fed through the tiny lights before attaching the church to the base.

I finished off by adding a moon and one of Tim's new Darling Deer Thinlits to complete my scene.
Here is a view of the lit up church.  I added some plain vellum behind the windows.
Finally, here is a close-up view of the front of the tin.

Thanks so much for your visit, I hope to see you again soon.

In the meantime, keep safe and well,

Hugs, Anne xxx


Related Posts Plugin for WordPress, Blogger...

Labels