I am sharing something today that I have been working on for several weeks. The very talented Richele Christensen shared a
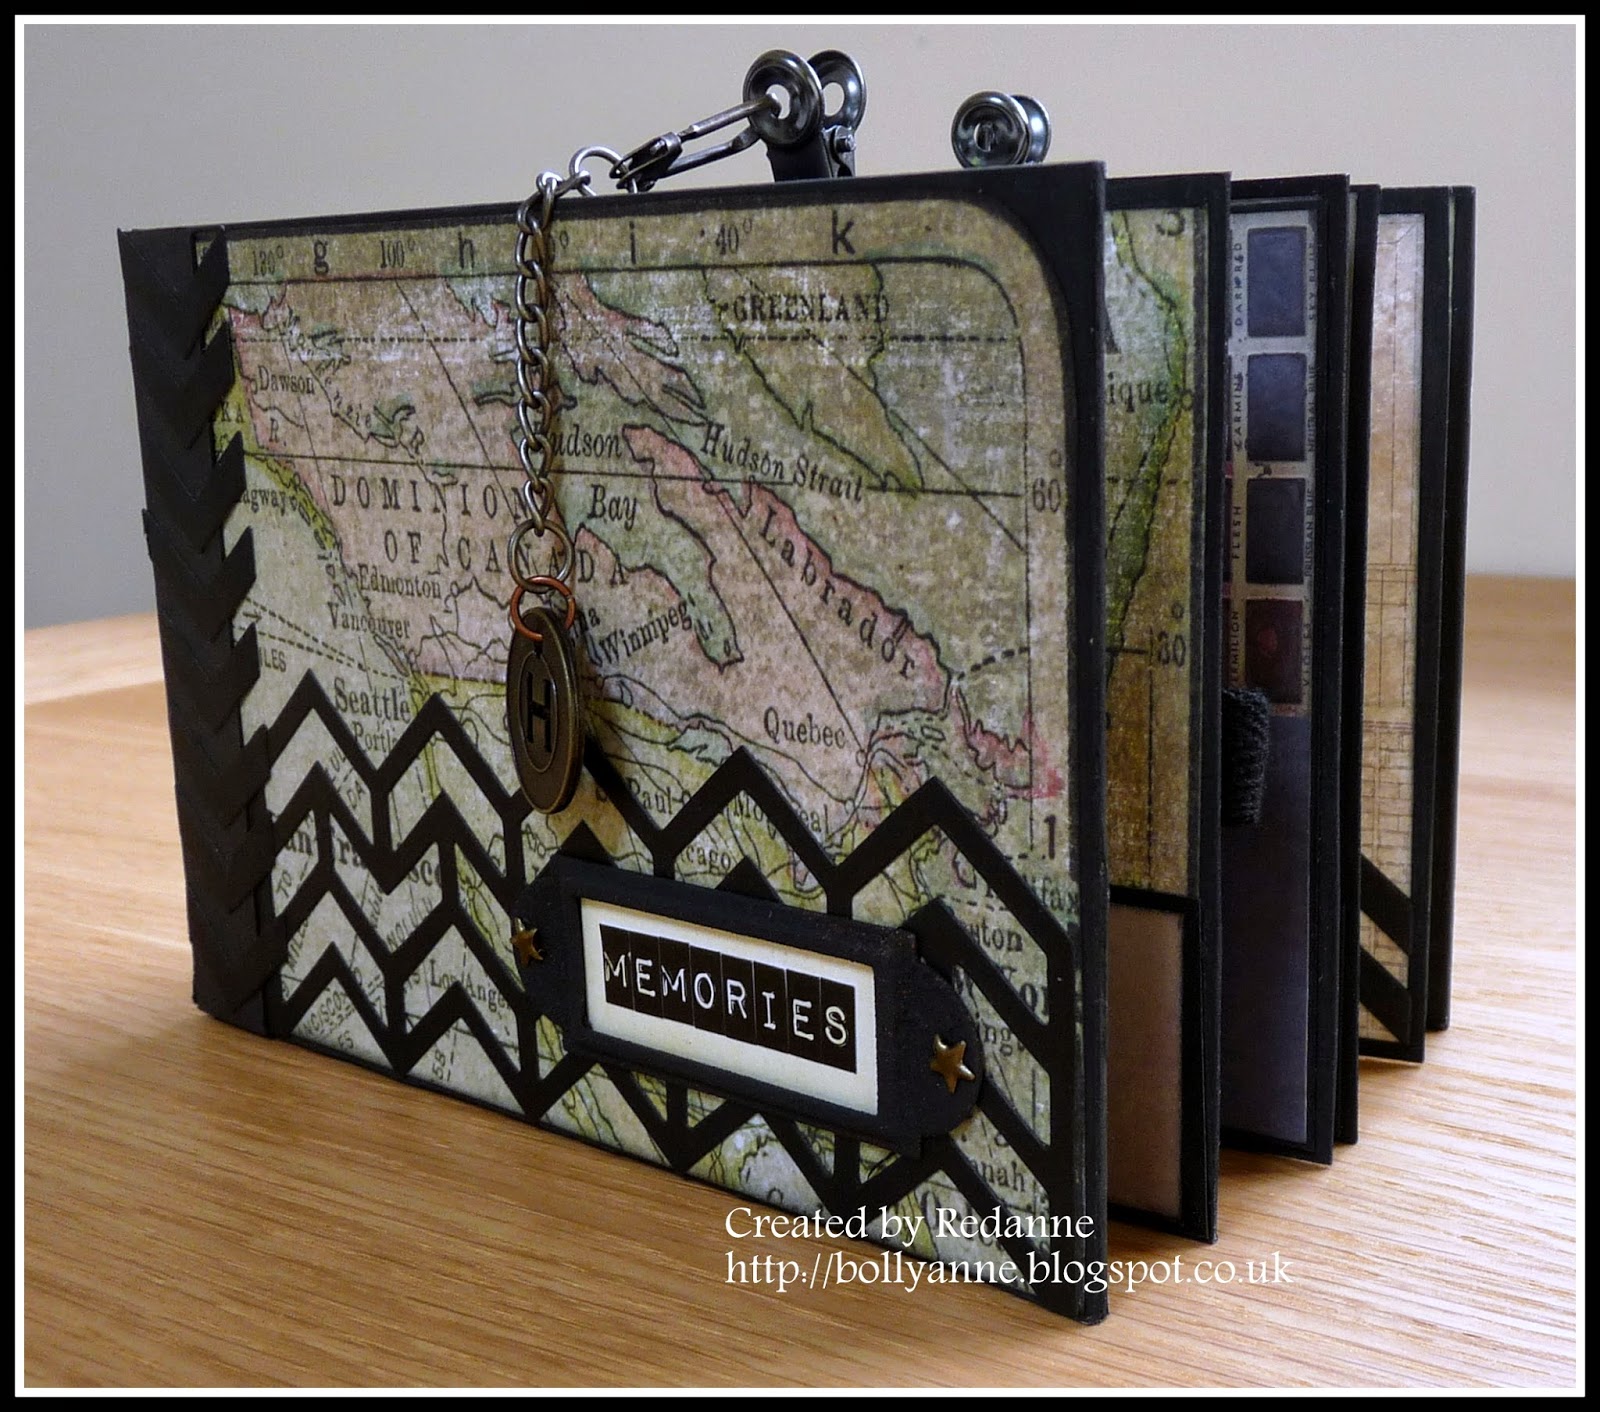
Tim Holtz Configurations Book
HERE and invited people to make one along with her. Since I love Halloween and I loved what she had created I decided to join in and I have had so much fun making this. As ever, I did not have all of the elements that Richele used so I had to improvise on quite a few things but I am thrilled with the result and will be displaying it in my window on All Hallows Eve.
Richele has been doing the tutorial in stages but has been ill recently so I have taken the liberty of finishing the box off myself by following the photo on her blog. I needed to get it finished because, as I will not be around much over the next week.
There are quite a few photos but not too much by way of explanation because Richele has gone into great detail, so if you want to make one you can follow her brilliant tutorial. It does look much better in real life, but to see it better just click on the photos.
This is the front of the closed box. Tim Holtz very kindly gave Richele permission to scale up the scary house die onto a template which was used to cut the house shape from the box cover - that was the hardest part because the configurations boxes are very strong. The moon, bats, wrought iron fence and tree are all die cuts, all TH with the exception of the fence.
This is the inside of the whole box, each box has been trimmed with tissue tape.
The skeleton is holding a lighted lamp, the battery pack is threaded through and I'll show you where later.
These are my favourite sections, I love Tim's new Movers and Shapers clock die. It was hard to photograph the bone dust but this section is actually a working shaker box and is filled with broken up Tim's Idea-ology wishbones.
For the bottom half of the box, my friend
Mo helped me out with the owl (a new die that I do not have) and she created a melt pot one which I have coloured. She also gave me the wonderful dome bottles at the top of the box and the fence on the front - thank you Mo!
This is a view of the back of the box. The wire from the light has been threaded across the top and down the right side, hidden by Tim's Laboratorie papers and the battery pack is hidden behind that die cut bottle.
This is just a view from the inside of the box, looking out, to give you an idea of the shape of the house. The box itself is approx 12 inches by 9 inches so there is lots of space to work in.
I hope you have enjoyed the tour of my little spooky house! I am entering this into
Simon Says Stamp/Monday Challenge this week, which is 'Spooky'.
Edited: In my haste to post this I forgot to mention that I would like to enter this into
Country View Crafts Challenge which is 'Something Spooky'.
I am also including it in Richele's blogpost linky
HERE.
****************************************************************
Finally - NOT FOR THOSE OF A NERVOUS DISPOSITION - please look away now if you have!
I was so inspired by Lynne's recent spooky skeleton creation (
Mr and Mrs Bones) that I created one of my own. I did this for my soon to be Son-in-Law, who is a History Teacher and loves skulls, a bit like me. Lynne, these photos are just for you!

Mr and Mrs Skeleton are decked out in Graphic 45 Steampunk papers and Mr Skeleton is sitting in a Tando Creative coffin........... his top hat is handmade. Mrs S wears a skirt of lace, coloured with Black Soot Distress Paint. They are ready to go to the Halloween ball.......
I am entering this piece into
Anything But a Card Challenge which is Colours of the Season - Orange and Black
Thanks for looking, hope to visit you all soon, but please forgive me if I miss a few posts over the next week or so. Hugs, Anne xx