
Hello Friends
The first of the month brings a new challenge over at Mini Album Makers. It would be lovely if you could join us there, the rules are simple -
Any Handmade Book goes. Enter any form of handmade mini album, scrapbook, journal or book art. Our focus is on completed works, so no layouts or journal spreads that are not part of a complete handmade book project. See here for full details.

Any Handmade Book goes. Enter any form of handmade mini album, scrapbook, journal or book art. Our focus is on completed works, so no layouts or journal spreads that are not part of a complete handmade book project. See here for full details.
I wanted to make a watercolour notebook in a handy size to carry around, and to try my hand at coptic stitching/binding, so I combined both.


I cut two pieces of black card to 5.3/4" x 4.1/4". I then cut 4 pieces of the stencilled card to 5.1/2" x 4" and added one to each of the covers, attaching one both inside and out, for strength.
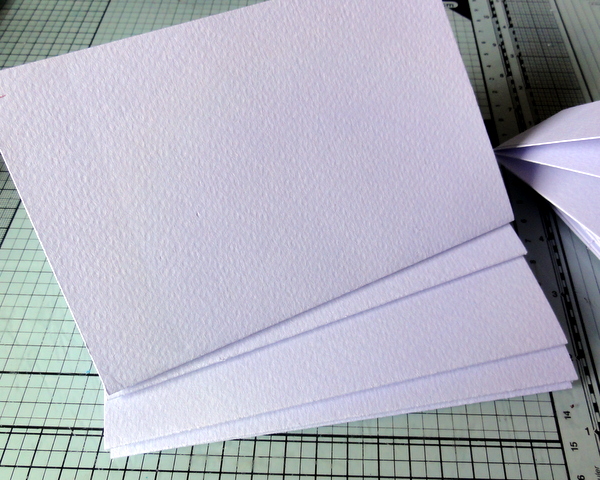
I punched five holes in each cover, measuring carefully so that both covers have identical holes, approx 1/4" from the edge.
The signatures each have five holes punched through the spine to correspond with the covers.

As this was my first attempt at Coptic stitching/binding, I followed an excellent video tutorial by Sea Lemon, which you can find HERE (it is much easier to follow than me writing out each step). I found the video very easy to follow and my first result was not too bad!


I die cut the letters and used Lindy's Stamp Gang (another of our lovely Sponsors) Magical Shakers in Guten Teal Tag and Cuckoo Clock Cardinal to colour the letters. Once dry I gave the letters a coat of Glossy Crackle Accent. The letters were added to card coloured with the same paint as before and matted with plain black card.

So, there we have it, a nice compact little album that fits nicely into my handbag/purse.
Tip: I used watercolour paper and constantly putting the needle in and out of the paper made it 'pill' slightly, which I don't mind but I think it would probably work better with mixed media type paper.
Our generous Sponsor this month is Stencil Girl who are offering a $25 Gift Certificate to one lucky winner.

Website - http://www.stencilgirlproducts.com/
Blog - http://www.stencilgirltalk.com/
YouTube - https://www.youtube.com/user/StencilGirlProducts
Website - http://www.stencilgirlproducts.com/
Blog - http://www.stencilgirltalk.com/
YouTube - https://www.youtube.com/user/StencilGirlProducts

It would be lovely if you could take a trip over to Mini Album Makers to see the wonderful and inspiring projects by my lovely team mates (we have a couple of new designers joining us this month too).
Thanks so much for your visit and I hope to see you again soon!
Hugs, Anne xxx
